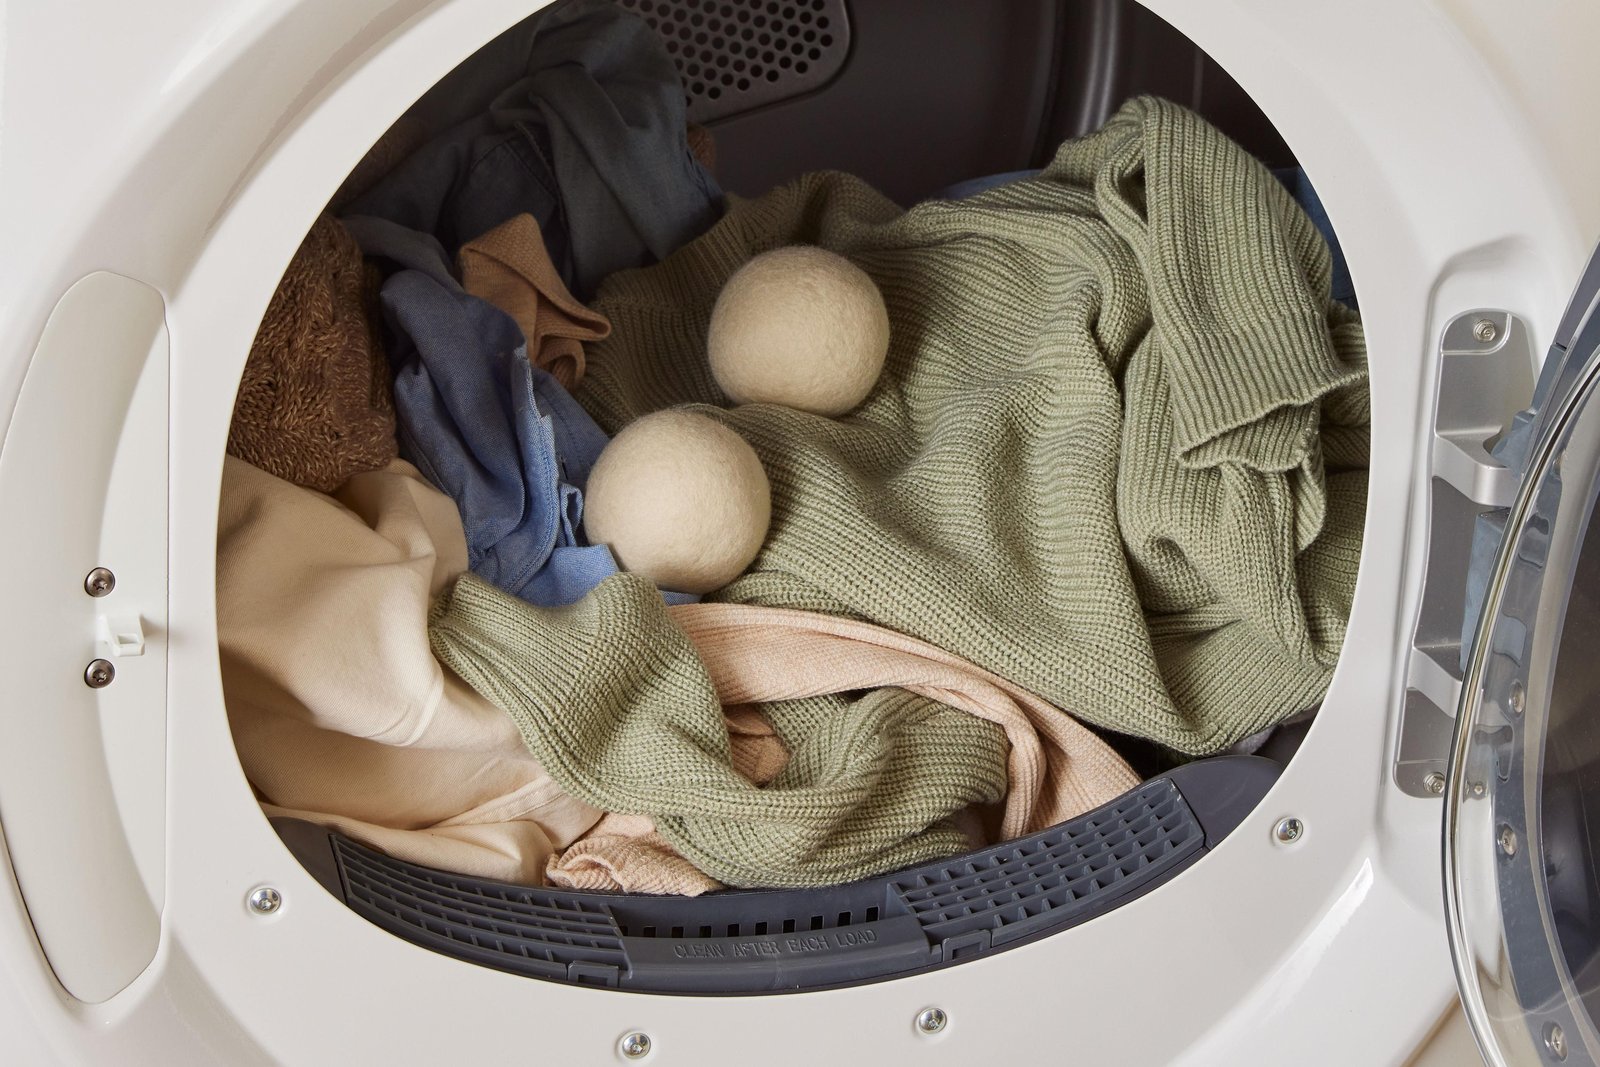
A dryer that won’t spin usually has one of five common issues, and a broken door switch is the most common one. It’s the safety part that stops the drum from turning when the door isn’t fully latched. You can confirm it in about a minute: close the door firmly, press start, and listen for a click. No click, no spin — that’s your likely answer.
Why a dryer stops spinning

The table below ranks the causes by how often each one turns out to be the real problem. Work down the list, not across it. The most common cause sits at the top for a reason.
| Cause | How common | How to confirm it | Fix it yourself? |
|---|---|---|---|
| Door switch or latch | Very common | No click when door closes | Yes |
| Broken drive belt | Common | Drum turns freely by hand | Yes, with care |
| Worn drum rollers | Common | Grinding or rumbling noise | Yes, with care |
| Blown thermal fuse | Less common | No heat, drum still spins | Yes |
| Bad motor or capacitor | Uncommon | Humming, no movement | No |
| Faulty control board | Uncommon | Dead panel, no lights | No |
| Overloaded or jammed drum | Rare | Drum won’t move at all | Yes |
The bottom three rows are where most people should stop and call someone. A motor, a capacitor, or a control board isn’t a home fix, and one of them can hold a lethal charge even when the dryer is unplugged.
The door switch is the usual culprit
The door switch is a small safety interlock. When the door closes, it completes a circuit that tells the control board the drum is safe to turn. If the switch or the latch that presses it’s worn, the board never gets that signal, so the motor stays off. That’s why a dryer can light up, beep, and still do nothing.
Confirm it in four steps. First, unplug the dryer. Second, open and close the door slowly and listen for a click at the latch. Third, press the door in firmly while pressing start — if the drum moves, the latch is loose. Fourth, check the strike plate on the door for wear or a bent edge.
The fix depends on what you find. If the latch is loose, tighten its screws until snug — over-tightening can crack the plastic. If the strike is bent, bend it back gently with pliers. If the switch itself is dead, it’s a small part behind the door frame, but on most models you’ll need to remove the top panel to reach it. That job runs 30 to 60 minutes for a first-timer, and less if you’ve done it before.
Cost sits in the low range compared with a service call — think of it as the price of a takeout meal rather than a new appliance. The exact part number is printed on the switch itself or in your model’s parts diagram on the maker’s site.
A snapped or stretched drive belt
A broken belt gives you a drum that spins too easily by hand and a motor that runs without turning anything. That’s the tell that separates it from the door switch: with a bad switch, the drum feels normal but nothing happens; with a bad belt, the motor hums or runs and the drum just sits there.
To check, unplug the dryer and open the door. Push the drum by hand. A healthy drum has some resistance and turns with a slight drag. A drum that spins like a bicycle wheel with no chain has lost its belt, or the belt has slipped off the pulley.
Replacing a belt means pulling the dryer away from the wall, removing the back or front panel depending on your model, and routing the new belt around the drum and the motor pulley. Allow 45 to 90 minutes. The belt itself is one of the cheaper parts you’ll buy for this machine — closer to the price of a coffee than a repair bill.
Two things trip people up. First, belts come in different lengths and widths, so match the one printed in your model’s diagram, not a “universal” belt. Second, the belt has a ribbed side that must face the pulley. Put it on smooth-side-out and it’ll slip within a few loads.
If the drum turns but squeals or rumbles, the belt isn’t your problem — move to the next section.
Worn drum rollers and glides
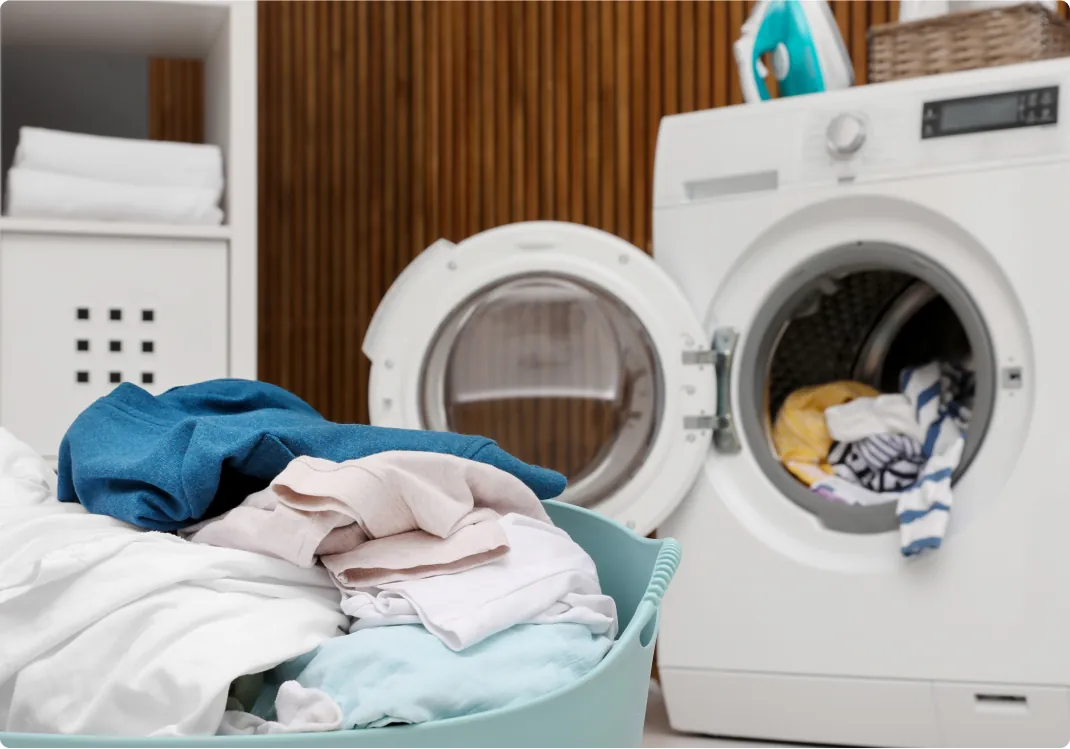
Worn rollers make the drum drag, and a drum that drags can stop spinning once it’s loaded with wet clothes. The clue is noise: a grinding, rumbling, or thumping sound that gets worse as the load gets heavier. A bad belt is usually silent; bad rollers are not.
Check it by unplugging the dryer and turning the drum by hand. You’ll feel a rough spot, a catch, or a wobble rather than smooth rotation. On some models you can also see the rollers through the front panel opening — look for flat spots, cracks, or a shiny worn edge.
Rollers come as a kit, and the price sits in the same range as the belt — modest compared with a service call. The trade-off is time: you’re saving money but spending an afternoon. If your dryer is old and you’re already inside it, replacing the rollers and belt together saves you opening it twice.
Stop here if you’re not comfortable lifting the drum. A dropped drum dents the cabinet and can crack the front panel, which turns a cheap fix into a replacement.
When it’s the thermal fuse or the motor
A blown thermal fuse cuts power to the heater, so you get no heat even though the drum still spins. The clue is that both stopped at the same time. This is where a technician earns their fee, confirming whether the part has failed.
A failing motor or a weak start capacitor shows up as a hum with no movement, or a drum that needs a push to get going. Both live behind the cabinet, and a capacitor can hold a lethal charge even with the dryer unplugged. Don’t open the housing, discharge anything, or test these parts yourself. Call a technician.
Other causes worth a quick check
The remaining causes are rare, but each has one clear clue. Check these before you buy any parts.
- Overloaded drum — the drum won’t turn at all and feels jammed; remove half the load and try again.
- Drum jammed by an object — a coin, a pen, or a bra wire caught between the drum and the front seal; you’ll hear a scrape on every rotation.
- Tripped breaker or a half-dead outlet — the panel lights are out and nothing responds; reset the breaker and test the outlet with a lamp.
- Faulty control board — the display is dead or shows an error code with no response to any button; the code chart is in your owner’s manual.
- Worn motor coupler — a plastic part that snaps and leaves the motor spinning alone; usually a grinding then a sudden stop.
Anything past the outlet and the load is technician work. A control board swap needs the exact part for your model, and a wrong board can damage the motor.
What a fix costs you in time and parts
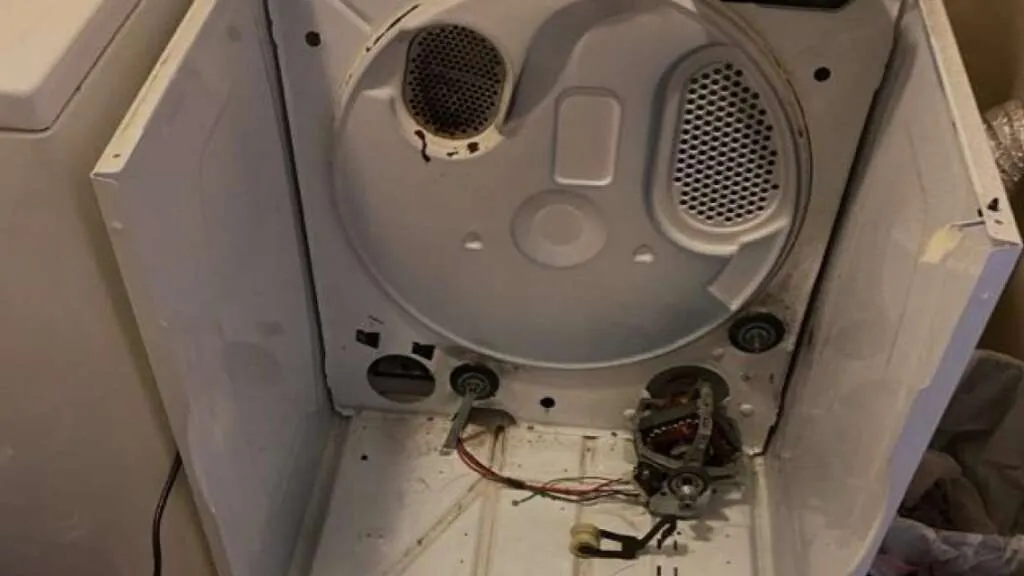
Door switch and latch fixes are the cheapest and fastest — usually under an hour and one small part. Belt and roller jobs cost more in time than money: you’ll spend an afternoon with the cabinet open, and the parts sit in the same modest range as each other.
The real cost driver is access. A dryer pushed into a tight closet takes longer to pull out and put back than the repair itself. If your model has the belt at the back, add time for moving the vent hose and the gas line or cord.
For a real number, get two quotes from local appliance repair shops and compare them with the parts price on the manufacturer’s official site for your model number. That gap tells you what your own afternoon is worth.
Frequently asked questions
Why is my dryer not spinning but it turns on?
The door switch is the most likely cause. The panel lights up because power reaches the controls, but the safety interlock never tells the motor to start. Close the door firmly and listen for a click at the latch. If you hear nothing, check the latch and strike plate before anything else.
Can I still dry clothes if the drum won’t spin?
No. A dryer that won’t spin won’t dry anything, even if it heats. The drum is what tumbles the clothes through the hot air. Running it with a full load and no rotation can overheat the cabinet on some models, so unplug it and fix the cause first.
How long does a dryer belt replacement take?
Plan 45 to 90 minutes for a first attempt, assuming the belt is reachable from the back panel. Front-access models run longer because you’ll remove the door and front panel first. Having a second person to hold the drum cuts the time noticeably.
Is it safe to open my dryer to fix it?
Only for the parts listed as do-it-yourself here — the latch, the belt, and the rollers. Never open the cabinet to touch the motor, capacitor, wiring, or control board. A capacitor can hold a lethal charge even when the dryer is unplugged. That work belongs to a qualified technician.
What happens if I ignore a grinding noise?
The drum rollers wear down further and can seize. A seized roller can damage the roller and its axle, turning a cheap roller kit into a bigger repair. Fix the noise while it’s still just noise — that’s the cheapest moment in the whole problem.
Does it matter which belt I buy?
Yes. Belts differ in length, width, and rib pattern, and a universal belt often slips or snaps early. Use the part number printed in your model’s parts diagram, which you can find on the manufacturer’s official site. Match the number exactly, not the look of the belt.
How do I know if it’s the belt or the motor?
Turn the drum by hand with the dryer unplugged. If it spins freely with almost no resistance, the belt is broken or off — that’s a belt problem. If the drum won’t move and you hear a hum when it’s powered, the motor or capacitor is the suspect, and that’s a technician call.
Can a jammed drum fix itself?
No, and running it makes things worse. A coin or bra wire caught between the drum and the seal will scrape the drum surface and can tear the felt seal. Unplug the dryer, reach in with a flashlight, and remove the object. If you can’t see it, the drum has to come out.
Conclusion
A dryer that won’t spin is almost always the door switch, a belt, or the rollers — three fixes a careful homeowner can handle in an afternoon. Everything past that point, especially the motor and the control board, is a job for someone with the training and the tools. Know where your line is, and the rest is just following the clues in order.